Monday 26 March 2018

Dear Jane Quilt, E5, F5, G5 & H5 - 16 of 225

Here are four more completed Dear Jane blocks.

Block H5 should have been completed quite easily but I was having trouble with the size of the medium green triangles within the black triangles.  I finally figured out the sides of the triangle hadn't been drafted at 90 degrees which was throwing off my calculations.  Once I realised this I remade it using 90 degree math and was happy with the result.


And here is a close up of H5.


Next up is F5.  I made this much harder than it had to be simply because I was trying to "cathedral window" the little orange peels instead of having to applique them on.  It turned out well in the end, but if I were to make it again, I would make sure that the outside green fabrics were cut so the bias of the pieces were along the orange peels and I then could have pulled the curves a little bigger.  I am happy enough, so I am not going to do it over!


And here's a close up of F5.


Then I started work on G5. It was really quite a simply made background and then an applique shape stitched down on top of it.  Since you could see the background cross shape through the flower, I cut out that layer after the applique was sewn down.


And a close up of G5.


The first blue block was E5.  I wasn't totally happy with the way this block was drafted with the wedges drawn from the quarter, half and three-quarter measurements along each side of the block making the corner wedges narrower than the centre wedges.  I made each wedge 22.5 degrees (half of 45 degrees).


And here is E5's closeup.


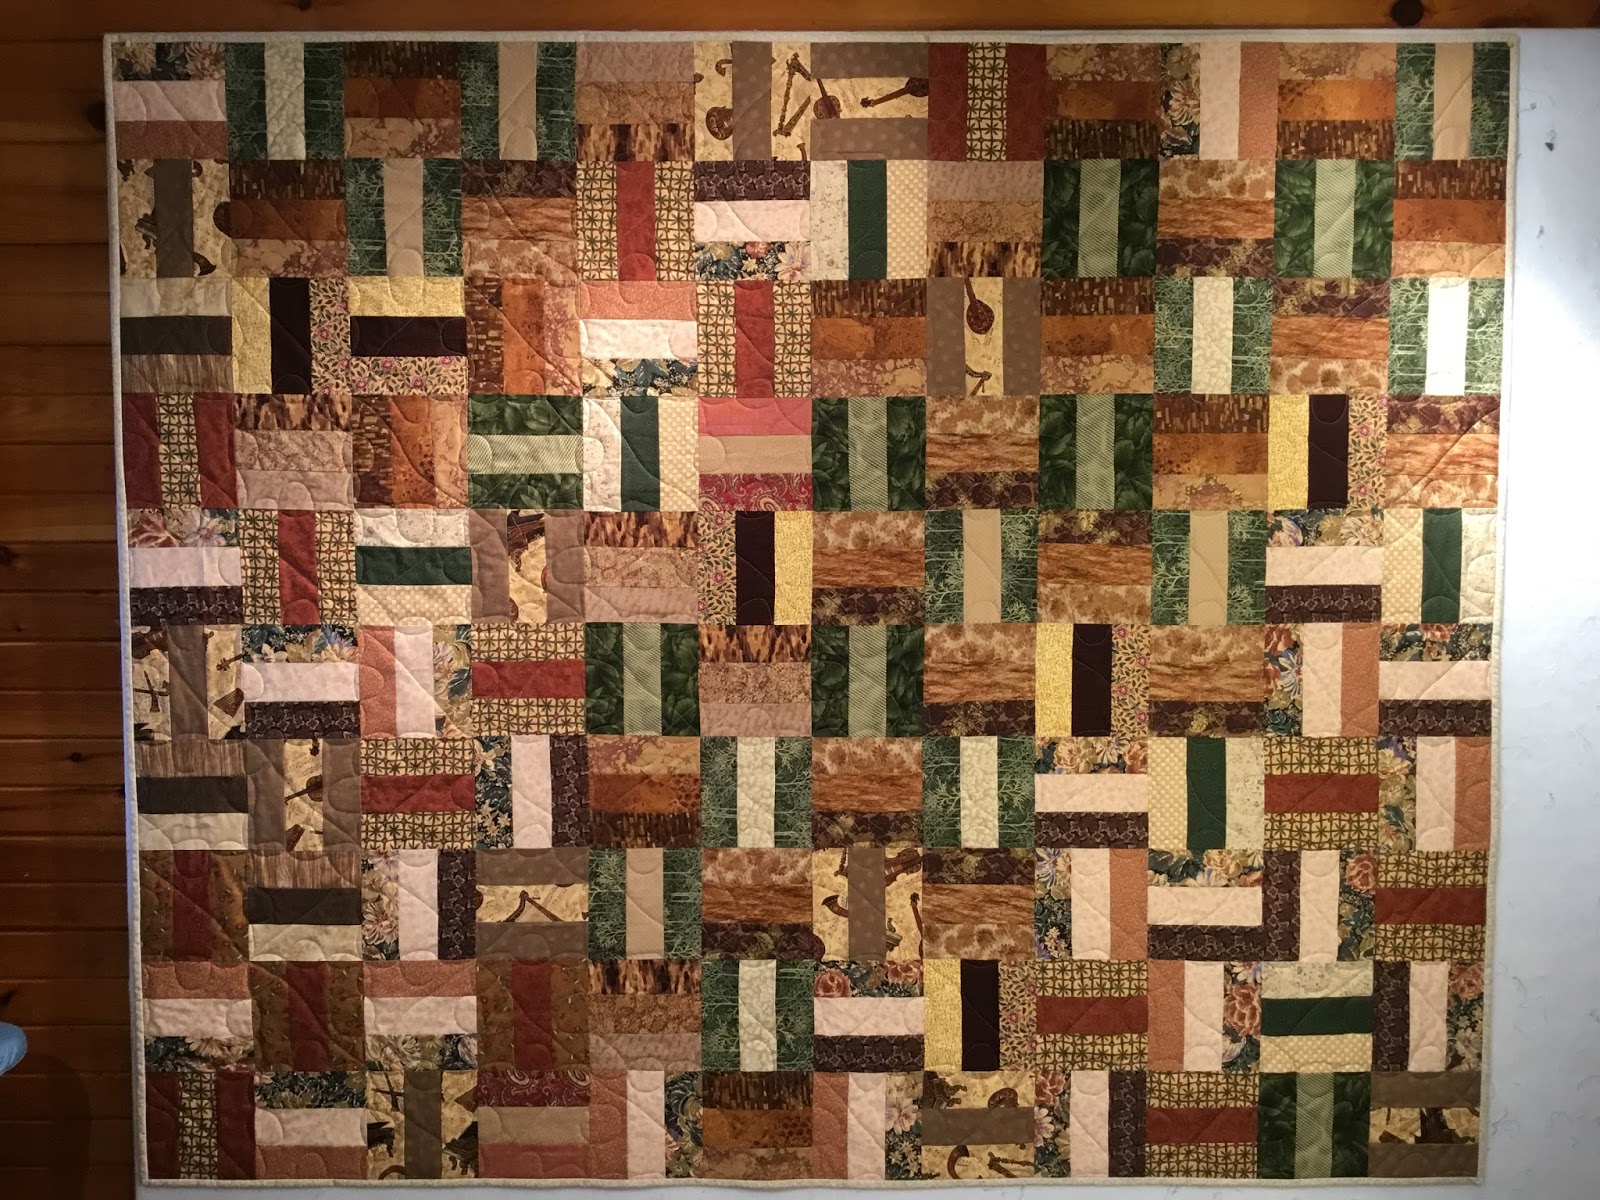
And here is a shot of my 16 completed blocks together.


I hope to get another four more blocks made before our group meets again on Thursday.  Wish me luck!

Linking to Crazy Mom Quilts for Finish it up Friday.

Friday 23 March 2018

What I've been Doing for the Last Week

Saturday morning I did some skype sewing with my friend Marilyn.  I was working on Bonnie Hunter's Quiltville Mystery "On Ringo Lake" quilt.  I only have ten blocks left to put together and then can assemble the top except for the setting triangles which I haven't made yet.


Wednesday was an all day sewing day!  I attending the sewing session that my quilt guild holds every second week in the multipurpose room at a local grocery store.  I decided to start a new project for this since I would be using a small portable machine instead of my regular heavy duty machine and different machines can give slightly different seam allowances.  (This is my story and I'm sticking to it!)  It had nothing to do with the spring quilts I've been seeing on line and my long time desire to make a basket quilt.  You can find the instructions for the quilt I am making called  Fat Quarter Baskets here.  It was designed by Lynette Johnson and was published by Fons and Porter.  You can see the quilt here but do not download it from there as it contains a cutting error, use the corrected first link above.  I was able to get twelve blocks made and am using 18 fabrics from a collection of 40 fat quarters called Chestnut Street by Fig Tree & Co by Moda which I bought at a really good price from someone downsizing their stash.


Then I dropped the machine I took off my frame for servicing and to have the feed dogs put back in so I could use it as a regular machine and not just for free motion quilting.  I had some time to kill so I dropped into a local quilt store and wandered around and only bought a half metre of fabric which was 50% off.  Then I picked up my daughter from work and we went back to her place and did some sewing for an hour on the quilt we are making for her girlfriend's wedding.


Thursday I sewed together batting scraps in order to make four 18" square quilt sandwiches to take to a Walking Foot and Intro to Free Motion Quilt Class I am attending this weekend which is being taught by a very talented fellow quilt guild member.


I put the quilt sandwiches together out on the deck in the snow using basting spray which I had never used before.  I was able to get enough fabric for the sandwiches from some old cotton/polyester fabric which I have had for a long time which made me happy that I don't have to use "good" fabric for practice.  They are colourful at least!


I am really looking forward to this class and hope to show you my class samples, unless they are too hideous!

Friday 16 March 2018

Comfort Quilt for Quilts of Valour - Canada Society

As mentioned in this previous post, I quilted and bound a quilt for Quilts of Valour - Canada Society which was made from strip sets and backing donated by Mayflower Quilters' Guild members and sewn together into a top at a fun charity day of sewing at a local quilt shop.  This quilt will be given to an injured Canadian Forces Member in the Halifax Regional Municipality.  The quilt was shown at Show and Share at our Guild meeting last night so now I can show it here.


The quilt is scrappy, but I wanted to do some sort of Canadian themed free motion quilting on it.  After several pages of doodling, I finally came up with a design.  Since each rail fence block is made up of three strips and each is then joined to the next block turned 90 degrees, each side of the blocks are in effect marked in thirds. I used these "thirds" as guiding points for free motion quilting the design.  I figured out how to quilt a maple leaf on each rail fence block and how to end in order to keep going onto the next block and continue across the whole row without breaking thread.


I started in the upper left hand corner and sewed the outline of the leaf around the outside of the block until I was back at the same corner and then sewed a gently curving stem diagonally across the block and then I was ready to start a new maple leaf in the next block.  Here is an individual block showing the maple leaf quilting.


I was very pleased with how the quilting turned out!  Now I need to quilt another Quilt of Valour so I can use the design again!

Linking to Crazy Mom Quilts for Finish it up Friday

Thursday 15 March 2018

Triad Quilt

My daughter Ainsley was over last night and we started working on a quilt for her girlfriend Victoria who is getting married June 2nd.  I was cutting and Ainsley was sewing.


We are making a triangle/diamond quilt with all different shades of green and using this Free Triad Quilt Pattern from Free Spirit.  However, we are using 6.5" triangles instead of 8.5" triangles and will have 15 rows and 16 columns to end up with a quilt 90" x 96" using 240 6" finished blocks.  Here is a better picture of some of the fabrics.


We got them all on a road trip to Avonport Discount Fabric a couple of weeks ago.  Green isn't my favourite colour, but I quite like most of these with their hint of teal.  Green is Victoria's favourite colour and that's what counts.

Tuesday 13 March 2018

Cat's Meow Mystery Quilt Introduction to Step 1 and a Few Notes

I am making the sample of the Cat's Meow Mystery quilt for this Thursday's meeting of the Mayflower Quilters' Guild.  Now, since it's a mystery, I can't show much but I wanted to draw attention to a few things I found helpful when completing step 1.

In step 1 you pick your three fabrics:  a light background and a medium to dark main fabric as well as a dark or strong contrast fabric and then you cut and sew various width of fabric strips into strip sets as directed.  I think my strip sets show that my light fabric is nice and light and my two other fabrics are definitely darker but also have enough contrast from each other as well.


Note #1 - This is to emphasise that all the strip sets' seam allowances are all ironed towards the dark or contrasting fabric which will make further construction steps easier.  (I had to search for this detail.)

Note #2 - Some of the light background strips are not sewn into strip sets, but are cut up into various lengths as is.  After I had sewn my strip sets and had some single strips left over, I thought I had made an error and had to read back through the instructions to find out it was OK and what to do with them.

Note #3 - The first light and contrast strip sets become four patches.  If you nest two of the strip sets right sides together before cutting, the pieces will already be paired for chain sewing and you will also only have to make half as many cuts since you will be cutting two strips at once.

Note #4 - To reduce bulk when pressing the four patches open, you can spin your seams.  See how all the seams on the back of the block are pointing in the same direction as you go clockwise around the block and a little four patch appears in the centre of the back of the block.

Note #5 – When you join your four patches to other blocks, make sure you look at which way they are turned in the diagram before you attach them or you could end up with a different design.


Note #6 - Strip set #4, which has two narrow contrast strips on each side of the main fabric is just long enough to cut out the required number of pieces (12 x 3.5" =  42") so be careful, ask me how I know...  All the other strip sets have lots of wiggle room .


Step 2 will be given in April and Step 3 with be given in May.  Step 4 will be to bring your completed quilt to the September meeting for the chance to win some prizes!  I will also provide the link to the Mystery Quilt pattern after Step 3 is provided so people can't go and peek at the final result and spoil the mystery.  I just noticed that the striped edges of my design boards match my fabrics.

Edited 15/03/2018 to add Hint #5 and correct Hint numbering

Friday 9 March 2018

I Have a New Quilting Friend!

You may be wondering why the blog has been silent for a little over a week.  It's because I have a new retirement quilting friend and I have been getting to know them before introducing them.  I have graduated from using my domestic sewing machine which has a ten inch throat space on my quilting frame to now using a Q'nique 15R mid-arm which has fifteen inches of throat space.  After you subtract the space taken up by rolling up the quilt, I could quilt a five inch pattern on my domestic sewing machine.  Now I will be able to quilt a ten inch pattern.  Double the space!  Here is a picture of my new mid-arm.


My first project is a Quilt of Valour that the Guild I belong to put together during a recent charity sew day.  I am quilting it with free motion maple leaves by using the three strips of rail fence piecing to guide me.  Here is what one looks like on a rail fence block.


And here is the back.


I can't show the whole quilt until after it gets revealed at the next Mayflower Quilters' Guild meeting on Thursday.  I'm looking forward to lots of time using my new mid-arm!  I didn't have to put in a second bobbin until I was on the last row of the quilt.  Thank you Bryan for coming over last week on your day off to level my frame and help me get my mid-arm set up.  Opie was lots of help too!